Welcome to the DIY Security Alarm System Installation Guide! In this comprehensive guide, we will provide you with step-by-step instructions on how to install your very own security alarm system. Whether you’re a seasoned DIY enthusiast or a beginner looking to step up your home security game, this guide is perfect for you. Say goodbye to expensive installation fees and take control of your home’s safety with our easy-to-follow tips and tricks. From choosing the right equipment to mounting sensors and setting up monitoring services, we’ve got you covered. Get ready to protect your home like a pro with our DIY Security Alarm System Installation Guide!
Understanding DIY Security Alarm Systems
– ### What is a DIY security alarm system?
A DIY security alarm system is a type of security system that allows individuals to install and set up their own alarm system without the need for professional assistance. These systems typically come in kits that include all the necessary components for installation, such as sensors, control panels, and sirens. DIY security alarm systems are designed to be user-friendly and can often be easily customized to suit the specific needs of the homeowner.
-
Benefits of installing a DIY security alarm system
- Cost-Effective: DIY security alarm systems are generally more affordable than professionally installed systems since you are not paying for installation labor costs.
- Flexibility: With a DIY system, you have the flexibility to choose where to place sensors and cameras based on your specific security needs.
- Ease of Installation: These systems are designed to be easy to install, with most components being wireless and requiring minimal tools for setup.
- Ownership: Installing your own security system gives you a sense of ownership and empowerment over your home’s security measures.
- Customization: DIY systems often offer the ability to customize settings and features to better fit your preferences and lifestyle.
Planning Your DIY Security Alarm System Installation
-
Assessing your home security needs
When planning to install a DIY security alarm system, the first step is to assess your home security needs thoroughly. Consider factors such as the size of your property, the number of entry points, and any vulnerable areas that may require additional monitoring. Conducting a comprehensive evaluation of your home will help you determine the type and number of sensors, cameras, and other security components you will need to ensure full coverage and protection.
-
Choosing the right DIY security alarm system kit
Selecting the appropriate DIY security alarm system kit is crucial to the effectiveness of your home security setup. When evaluating different kits, look for features that align with your specific security requirements. Some essential components to consider include motion detectors, door and window sensors, a control panel, cameras, and a siren. Ensure that the kit you choose offers easy installation instructions and compatibility with additional devices or home automation systems you may want to integrate in the future.
-
Budget considerations
While it is important to prioritize the security features you need, it is also essential to factor in your budget when planning your DIY security alarm system installation. Determine how much you are willing to invest in your home security and explore different kit options that offer the best value for your money. Keep in mind that a higher price does not always guarantee better quality, so compare features, reviews, and warranties to make an informed decision that meets your security needs without exceeding your budget constraints.
Installing a DIY security alarm system can be cost-effective, flexible, and empowering for homeowners. By carefully assessing your security needs, choosing the right kit, and strategically planning the installation process, you can create a personalized security system that meets your requirements and budget constraints. Regular testing, troubleshooting, and enhancements such as adding security cameras or integrating with smart home devices can further enhance the effectiveness of your DIY security alarm system.
Pre-Installation Preparation
-
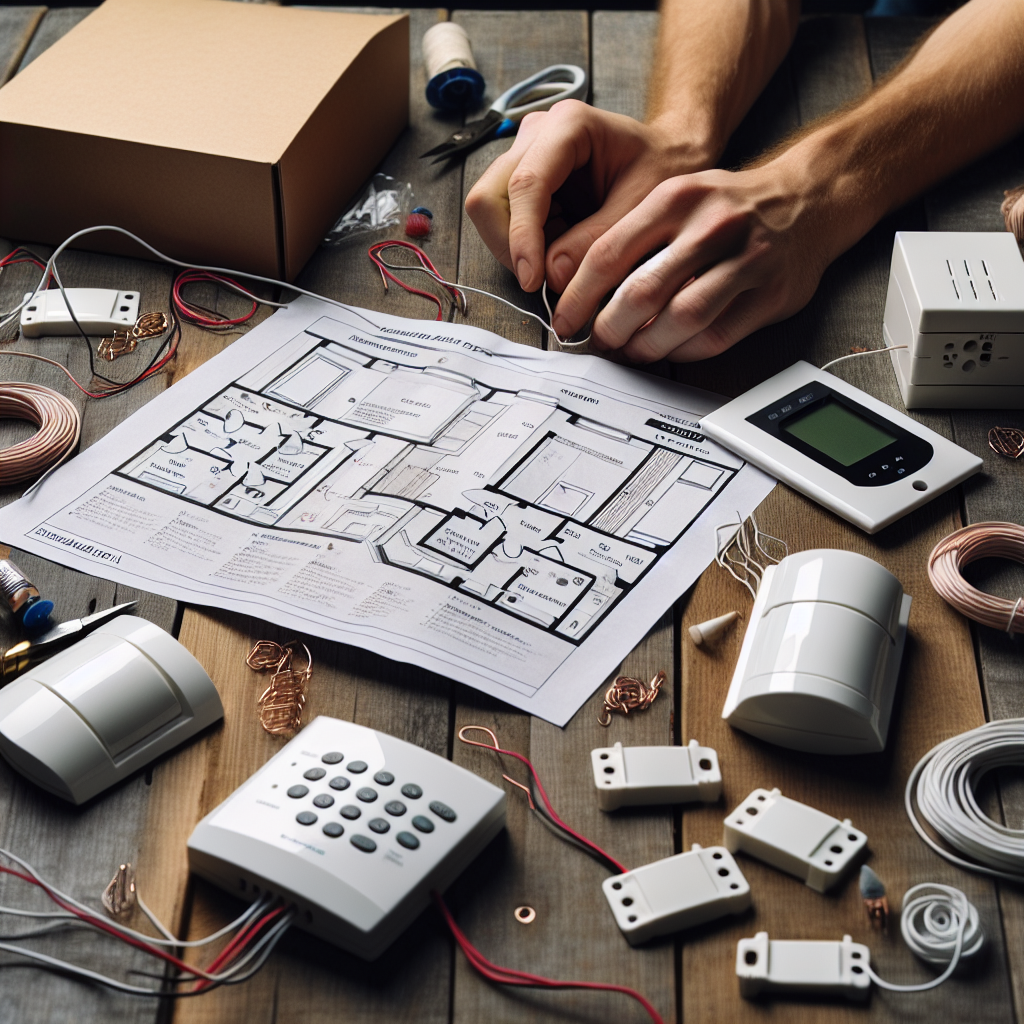
Gathering necessary tools and equipment
Before starting the DIY security alarm system installation, ensure you have all the necessary tools and equipment on hand. The following checklist can help you gather everything you need:
- Tools Checklist:
- Screwdrivers (Phillips and flat-head)
- Drill and drill bits
- Pliers
- Wire cutters/strippers
- Ladder
- Level
- Tape measure
-
Screws and wall anchors
-
Understanding your home layout for strategic placement
To effectively install your security alarm system, it is crucial to understand your home layout and identify strategic placement areas. Consider the following:
- Identifying Entry Points:
- Assess all doors, windows, and other potential entry points that require sensor placement.
-
Determine the number of sensors needed based on the size and layout of your home.
-
Optimal Sensor Placement:
- Place motion sensors in areas where they can detect movement across the room.
- Install window and door sensors at vulnerable entry points to monitor unauthorized access.
By preparing and strategically planning the placement of your security alarm system components, you can enhance the overall effectiveness of your DIY installation.
Step-by-Step Installation Guide
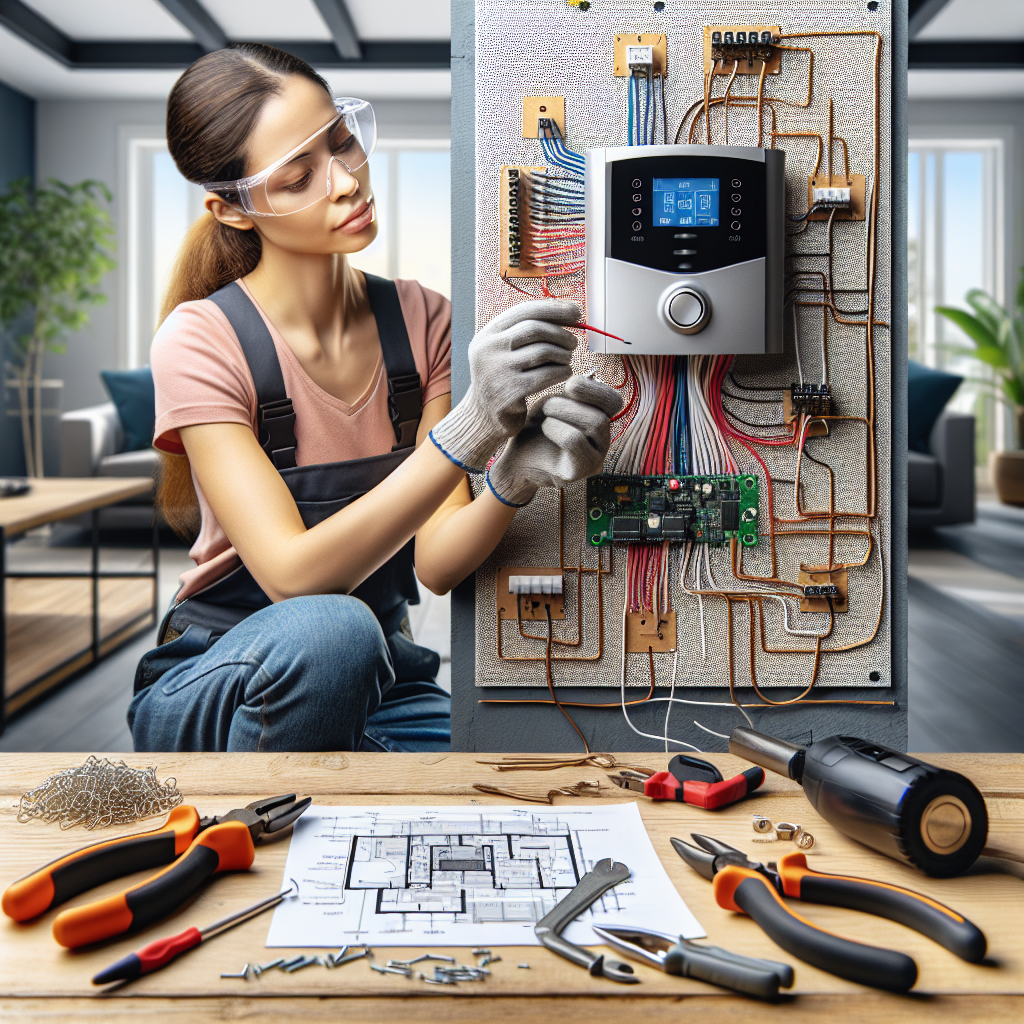
Installing the Control Panel
- Connecting to Power Source: Begin by locating a suitable power outlet near the desired placement for the control panel. Plug in the power adapter provided with the system and ensure a stable power supply to avoid interruptions in functionality.
- Setting up the Control Panel: Follow the manufacturer’s instructions to power on the control panel and initialize the system. This typically involves entering default codes and customizing settings such as time, date, and user preferences.
Mounting and Configuring Sensors
- Door/Window Sensors: Identify key entry points in your home where door/window sensors should be placed. Ensure proper alignment and secure installation using adhesive backing or screws, depending on the surface material. Follow calibration procedures to synchronize sensors with the control panel.
- Motion Detectors: Select strategic locations for motion detectors to cover vulnerable areas within the property. Adjust the sensor sensitivity and range according to the layout of the space to minimize false alarms while maintaining optimal coverage.
Connecting to Monitoring Services

– DIY Options vs. Professional Monitoring: Evaluate the benefits and limitations of self-monitoring versus professional monitoring services. DIY options provide cost-effective solutions with direct control over system management, while professional monitoring offers round-the-clock surveillance and prompt response to security incidents for added peace of mind. Consider your preferences and budget constraints when choosing the most suitable monitoring approach for your security alarm system installation.
Testing and Troubleshooting
-
Testing the system functionality
- Before considering the installation process complete, it is crucial to conduct thorough tests to ensure the security alarm system functions as intended.
- Begin by testing each sensor individually to confirm they are detecting movement or any other specified trigger accurately.
- Ensure all sensors are properly installed and positioned to cover the designated areas effectively.
- Activate the alarm system using the control panel or designated remote to verify that the alarm sound is loud and clearly audible.
- Test the responsiveness of the system by simulating various scenarios that might trigger the alarm, such as opening doors or windows unexpectedly.
- Check the connectivity of the system with the monitoring service, if applicable, to confirm that alerts are being transmitted successfully.
-
Troubleshooting common installation issues
-
Connectivity problems
- If you encounter connectivity issues between the sensors and the control panel, first check the distance between them to ensure they are within the specified range.
- Verify that the sensors are installed within the recommended proximity to the control panel and that there are no obstructions blocking the signal.
- Consider repositioning the sensors or adding a signal repeater to strengthen the connection if the problem persists.
-
Sensor malfunctions
- In case a sensor is not detecting movement or triggering the alarm when expected, inspect the sensor for any physical damage or signs of tampering.
- Check the sensor’s battery level and replace it if necessary, as low battery power can cause malfunctions.
- Ensure the sensor is securely mounted and aligned correctly according to the manufacturer’s instructions to avoid false alarms or missed detections.
-
Enhancing Your DIY Security Alarm System
When it comes to enhancing your DIY security alarm system, there are several supplementary security features you can consider integrating to bolster the overall protection of your property.
-
Security Cameras: Incorporating security cameras into your system can provide you with visual monitoring capabilities, allowing you to keep an eye on your property remotely. Modern security cameras come equipped with features such as night vision, motion detection, and two-way audio communication, enhancing the surveillance aspect of your alarm system.
-
Smart Home Integration: By integrating your security alarm system with smart home devices, such as smart lights, smart locks, and voice assistants, you can create a more comprehensive and interconnected security ecosystem. This integration allows for seamless automation and control of various security components, increasing the overall efficiency and convenience of your DIY system.
Regular maintenance and system updates are crucial aspects of ensuring that your DIY security alarm system functions optimally and remains effective in safeguarding your property.
-
Checking Battery Levels: Regularly checking the battery levels of your alarm system components, such as sensors, keypads, and control panels, is essential to prevent any disruptions in the system’s operation. Low battery levels can compromise the reliability of the system, so it is vital to replace or recharge batteries as needed to maintain consistent protection.
-
Updating Software: Keeping your alarm system’s software up to date is critical for addressing any security vulnerabilities and ensuring that the system operates with the latest features and enhancements. Regularly checking for software updates from the manufacturer and promptly installing them can help optimize the functionality and security of your DIY security alarm system.
FAQs for DIY Security Alarm System Installation Guide
1. Can I install a security alarm system on my own?
Yes, you can install a security alarm system on your own with the right tools and instructions. It is important to carefully follow the installation guide provided by the manufacturer to ensure that the system is installed correctly and functions properly.
2. What tools do I need to install a security alarm system?
To install a security alarm system, you will typically need a drill, screwdriver, wire strippers, and a ladder. Some systems may require additional tools or accessories, so be sure to check the installation guide for specific requirements.
3. How long does it take to install a security alarm system?
The time it takes to install a security alarm system will vary depending on the complexity of the system and your level of experience with DIY projects. In general, it can take anywhere from a few hours to a full day to complete the installation process.
4. Do I need any special skills or knowledge to install a security alarm system?
While it is not necessary to have professional experience in installing security systems, having basic knowledge of electrical wiring and DIY projects can be helpful. Make sure to read through the installation guide carefully and follow the instructions closely to ensure a successful installation.
5. What should I do if I encounter any issues during the installation process?
If you encounter any issues during the installation process, you can refer to the troubleshooting section of the installation guide for solutions. You may also consider reaching out to customer support for assistance or consulting with a professional installer if needed.